Something went wrong... Please try again.
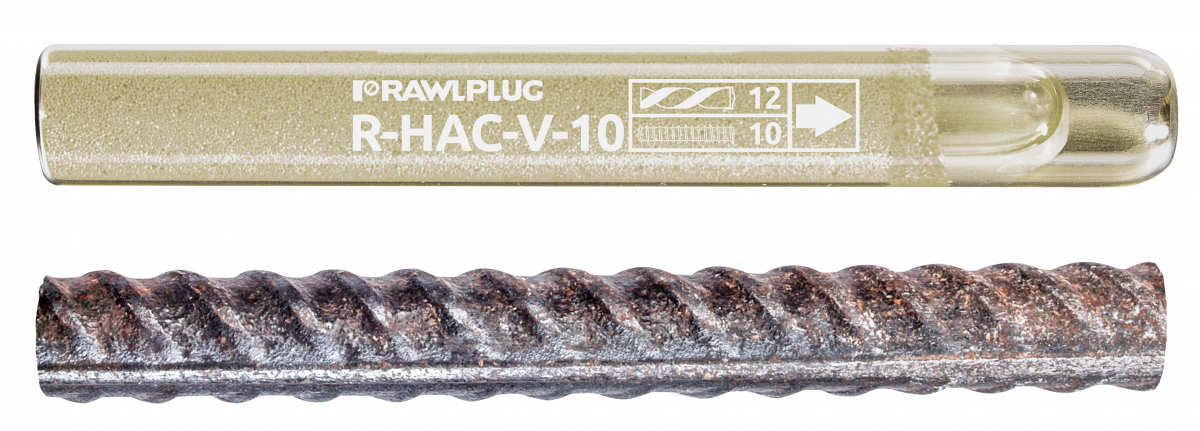
R-HAC-V Hammer-In with Rebar
Heavy duty anchor with small spacing and edge distances, simply installed by hammering the rebar

Features and benefits
- Approved for use with rebar in non-cracked concrete (ETAG001 Option 7)
- High performance anchor, for use in safety critical applications
- The system relies on the adhesion between concrete and resin, which is free from expansion forces. This makes it an ideal choice where close edge and spacing distances are required
- Capsule contains precise amounts of ingredients making it a very consistent product
- Adhesive bond strength is not affected by unpolluted water
- Suitable for dry or wet non-cracked concrete
- Ideal for starter bar applications
- Low cost tooling required for installation, quick and easy to install
- Styrene free - virtually odourless
Product information
Product Code |
Description / Resin Type |
R-HAC-V-08 |
Styrene Free Vinylester Resin |
R-HAC-V-10 |
Styrene Free Vinylester Resin |
R-HAC-V-12 |
Styrene Free Vinylester Resin |
R-HAC-V-16 |
Styrene Free Vinylester Resin |
R-HAC-V-20 |
Styrene Free Vinylester Resin |
R-HAC-V-24 |
Styrene Free Vinylester Resin |
R-HAC-V-30 |
Styrene Free Vinylester Resin |
Base material
-

Non-cracked concrete C20/25-C50/60
For use also with
-

Natural Stone (after site testing)
Applications
- Reinforcement bars
- Cable trays
- Heavy machinery
- Fencing & gates manufacturing and installation
- Formwork support systems
Installation guide
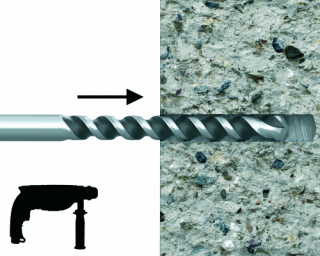


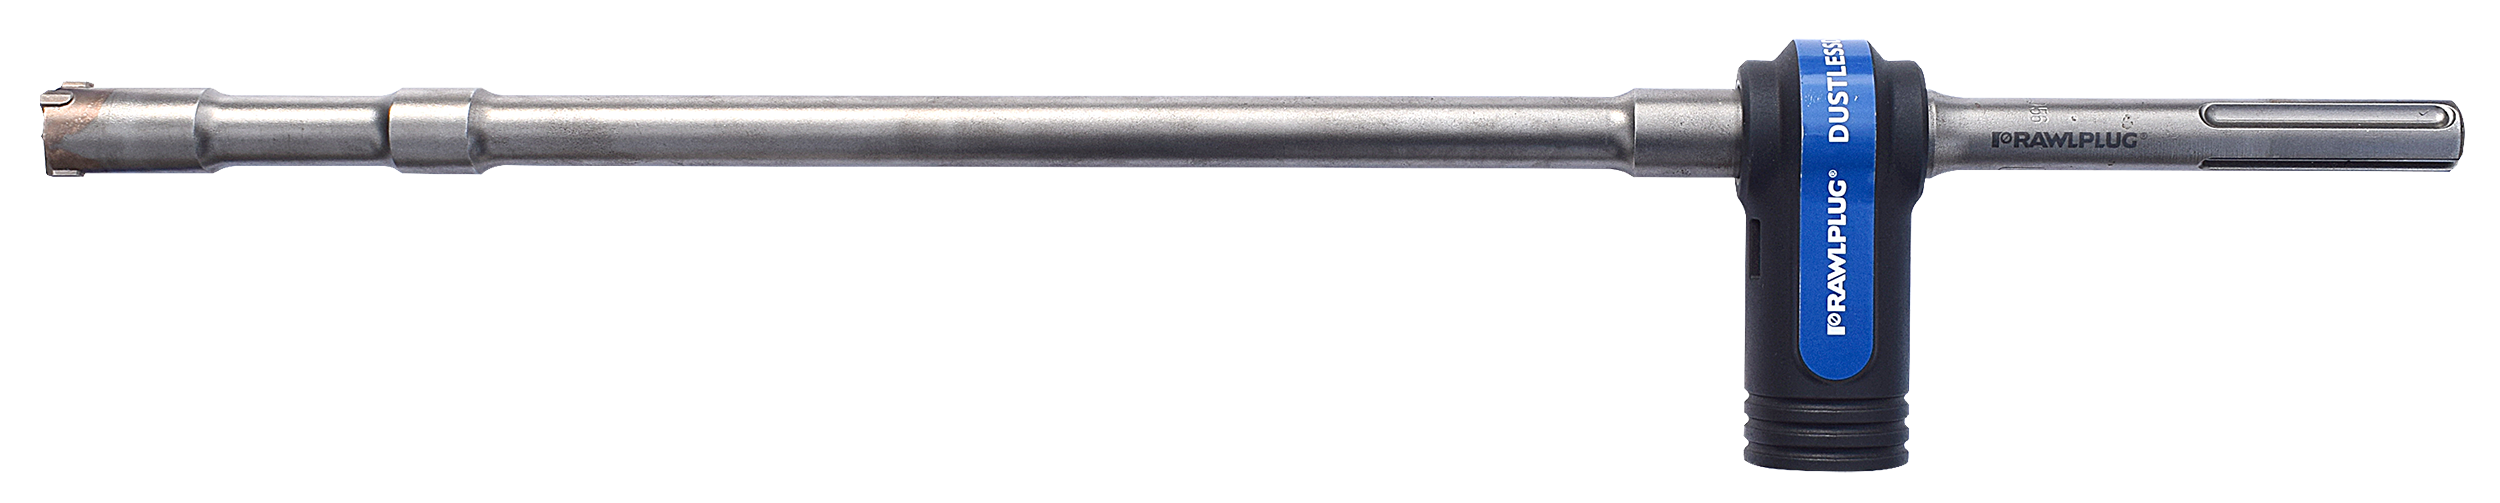
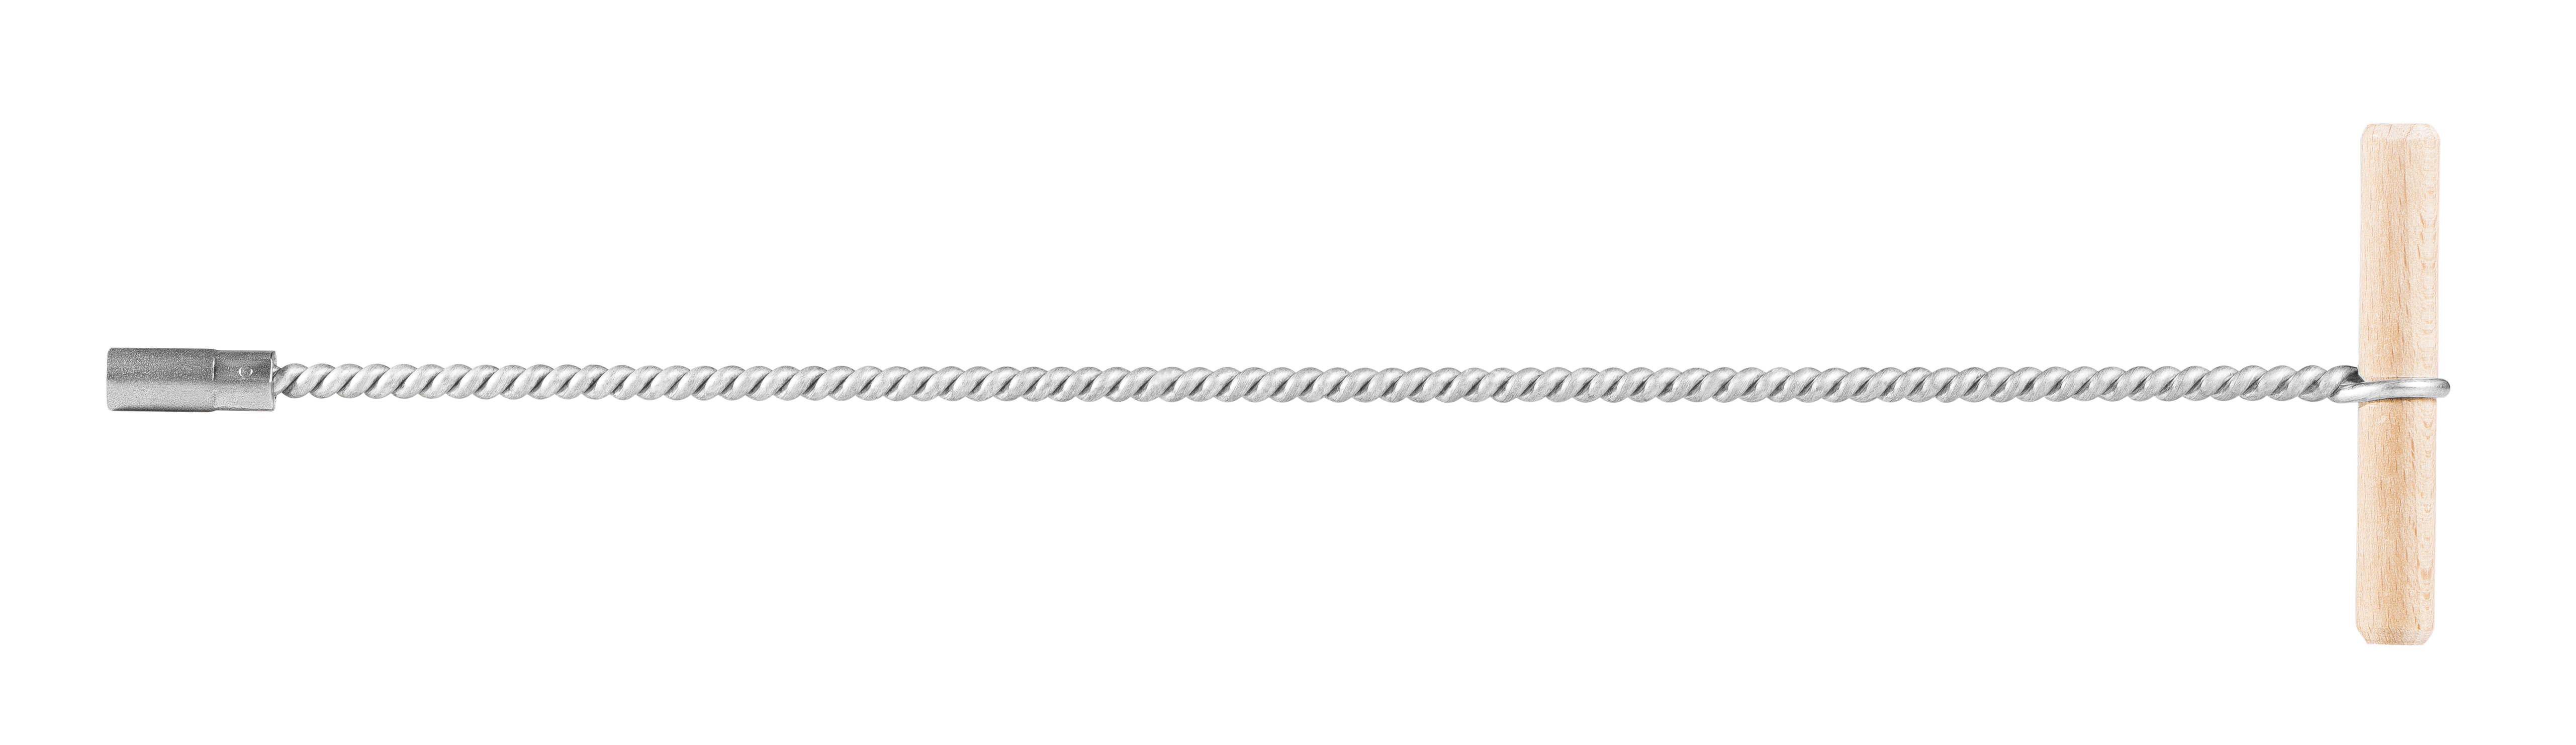
- Drill hole to the required diameter and depth for stud size being used.
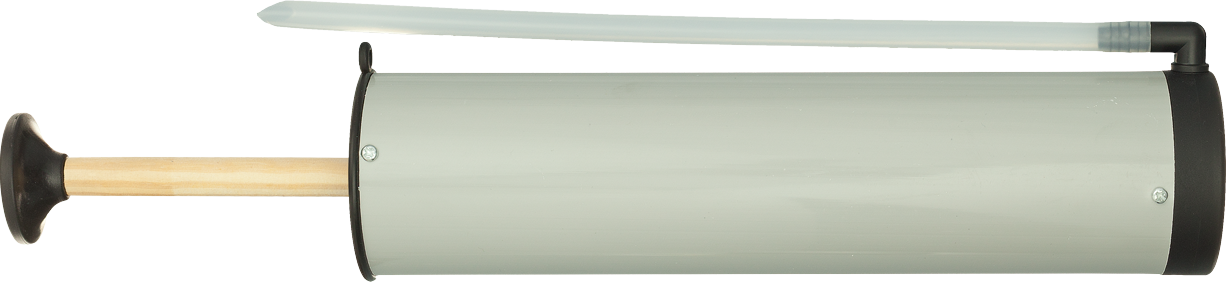
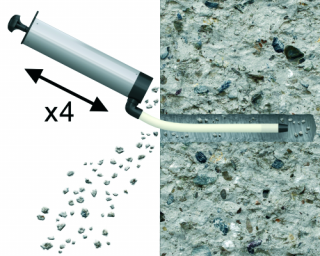
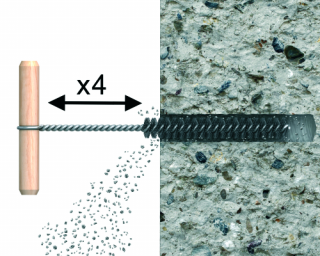
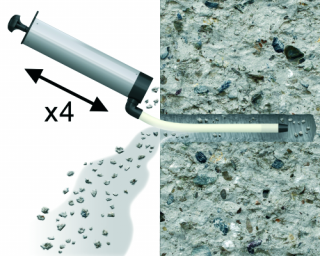
- Clean the hole thoroughly with brush and hand pump at least four times before installation.
- Insert capsule into the hole.
- The stud is simply hammered through the capsule using a manual or mechanical hammer (M16-M30).
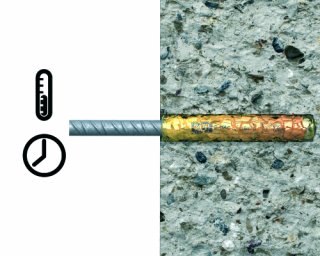
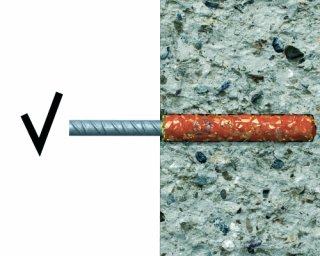
- Leave the anchor undisturbed unitl the curing time elapses.
Installation data
REBARS AS ANCHORS
Size |
Ø8 |
Ø10 |
Ø12 |
Ø14 |
Ø16 |
Ø20 |
Ø25 |
||
Rebar diameter |
ds |
[mm] |
8 |
10 |
12 |
14 |
16 |
20 |
25 |
Hole diameter in substrate |
d0 |
[mm] |
12 |
14 |
18 |
18 |
22 |
26 |
35 |
Capsule size |
[mm] |
10 |
12 |
16 |
16 |
20 |
24 |
30 |
|
Capsule diameter |
dc |
[mm] |
10.75 |
12.65 |
16.75 |
16.75 |
21.55 |
23.75 |
33.2 |
Min. hole depth in substrate |
h0 |
[mm] |
hnom+5 |
hnom+5 |
hnom+5 |
hnom+5 |
hnom+5 |
hnom+5 |
hnom+5 |
Min. installation depth |
hnom |
[mm] |
80 |
90 |
110 |
110 |
125 |
170 |
210 |
Min. substrate thickness |
hmin |
[mm] |
120 |
130 |
140 |
140 |
180 |
230 |
270 |
Min. spacing |
smin |
[mm] |
0.5 * hnom ≥ 40 |
0.5 * hnom ≥ 40 |
0.5 * hnom ≥ 40 |
0.5 * hnom ≥ 40 |
0.5 * hnom ≥ 40 |
0.5 * hnom ≥ 40 |
0.5 * hnom ≥ 40 |
Min. edge distance |
cmin |
[mm] |
0.5 * hnom ≥ 40 |
0.5 * hnom ≥ 40 |
0.5 * hnom ≥ 40 |
0.5 * hnom ≥ 40 |
0.5 * hnom ≥ 40 |
0.5 * hnom ≥ 40 |
0.5 * hnom ≥ 40 |
Contact us to get information about product availability and its price